Wax or wash, that is the question. I think the answer is BOTH!
I've been at home more than usual these last few weeks. I've been home so much that I've been banging out lots of old projects. I've been finishing off pieces I forgot I had. Heck, I even cleaned out one of our buildings. Holy, moly! I uncovered a multitude of sins. Project upon project of unfinished junk.
Well, now is the time to get busy! I'm determined to get some of these projects completed!
I gathered up a table full of small wood pieces. During my clean up, I unearthed candlesticks, wood baskets, wooden trays and wood shelves. You name it, and I probably found it.
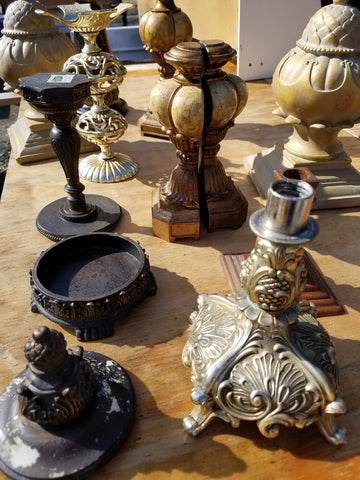
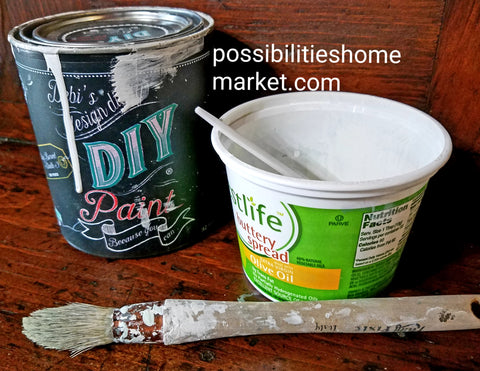
Each piece got a good cleaning in preparation for paint. Other than that, there really wasn't any other special prep work that was required since I was going to be using Debi's Design Diary DIY Paint.
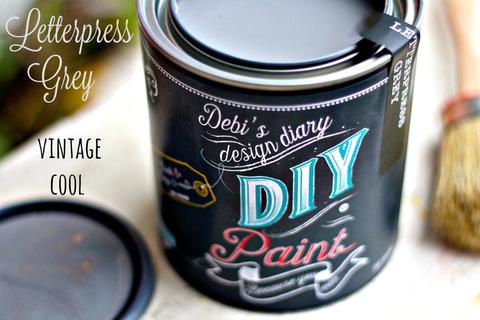
Next I filled up a hopper full of paint and got busy spraying. DIY paint is highly pigmented and it made it quick to complete my projects. Most pieces only required one pass with the sprayer although there were a few pieces that I had to spray twice. Seriously, I was done in no time and since we had some unusually warm weather, the sun dried my pieces in no time.
I could have just lightly distressed my pieces and sealed them with Big Top or clear wax but, I wanted to add a little something extra. I didn't want to leave my pieces with just one color. I wanted to highlight them. Since most of my candlesticks had uber amounts of detail, I really wanted to accent that quality.
Two things came to mind. I could wax or I could wash. Then I decided to have the best of both worlds. I went for it and did BOTH.
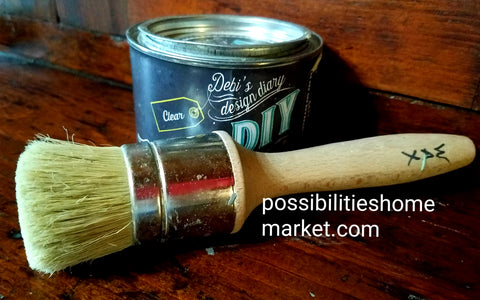
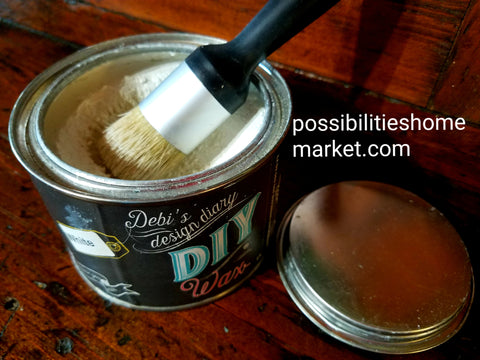
Waxing was easy. I grabbed a candle holder and pulled out the DIY Clear Wax and began adding a coat of wax with my Paint Pixie wax brush.
I let the clear wax dry and then I gently buffed it off.
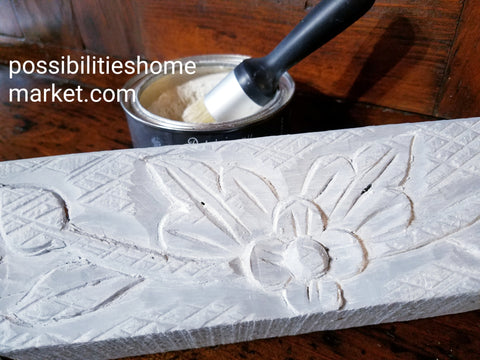
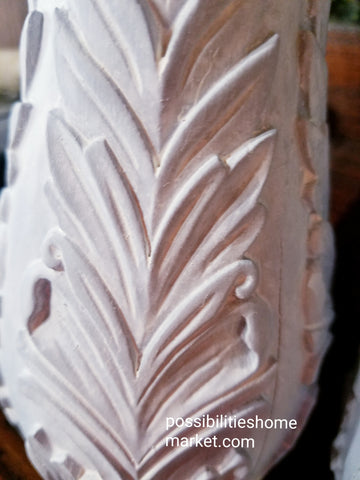
Next I grabbed the DIY White Wax and here is where the magic happened. I applied the white wax liberally and let that creamy white wax settle down into the nooks and crannies of the candle holder.
I could see the piece changing before my eyes. I took an old rag and began to wipe back on the piece being careful to only take off a little wax at a time. I wanted to make sure that the white wax settled down into the grooves of the candle holder. I kept applying and wiping back until I reached the perfect amount of white wax.
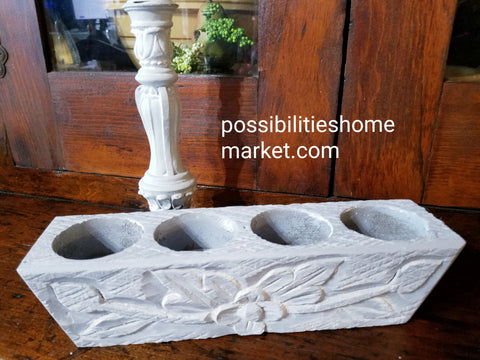
Boy does it look great! This piece is now sealed and ready to be used.
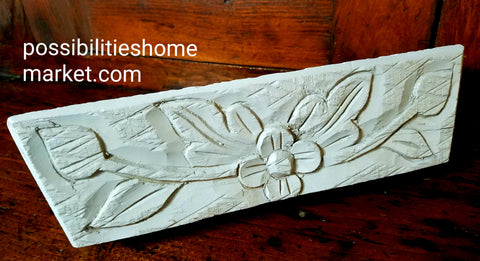
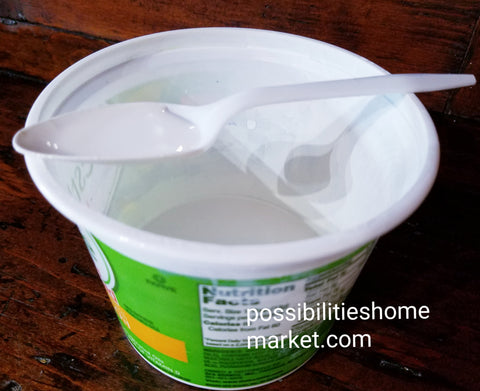
Next, I decided to try a white wash. I took some DIY paint in Vintage Linen color and poured some into a small container. Next, I added some water until the mixture was nice and loose.
I grabbed my Paint Pixie paint brush and began brushing the wash onto a very detailed candlestick.
I brushed it on and then wiped it off. Remnants of the white paint were left behind and the remaining paint filled the details in the candlestick.
Once that dried, all I had left to do was to seal the piece. I used clear wax but, Big Top would also work. I love how this candlestick turned out! Now all it needs is a candle!
Have you tried to wax or wash? If not, try it! It's a great way to add layers of colors to a piece and turn it from average to awesome! Want more info? Check out our how to video.
Leave a comment